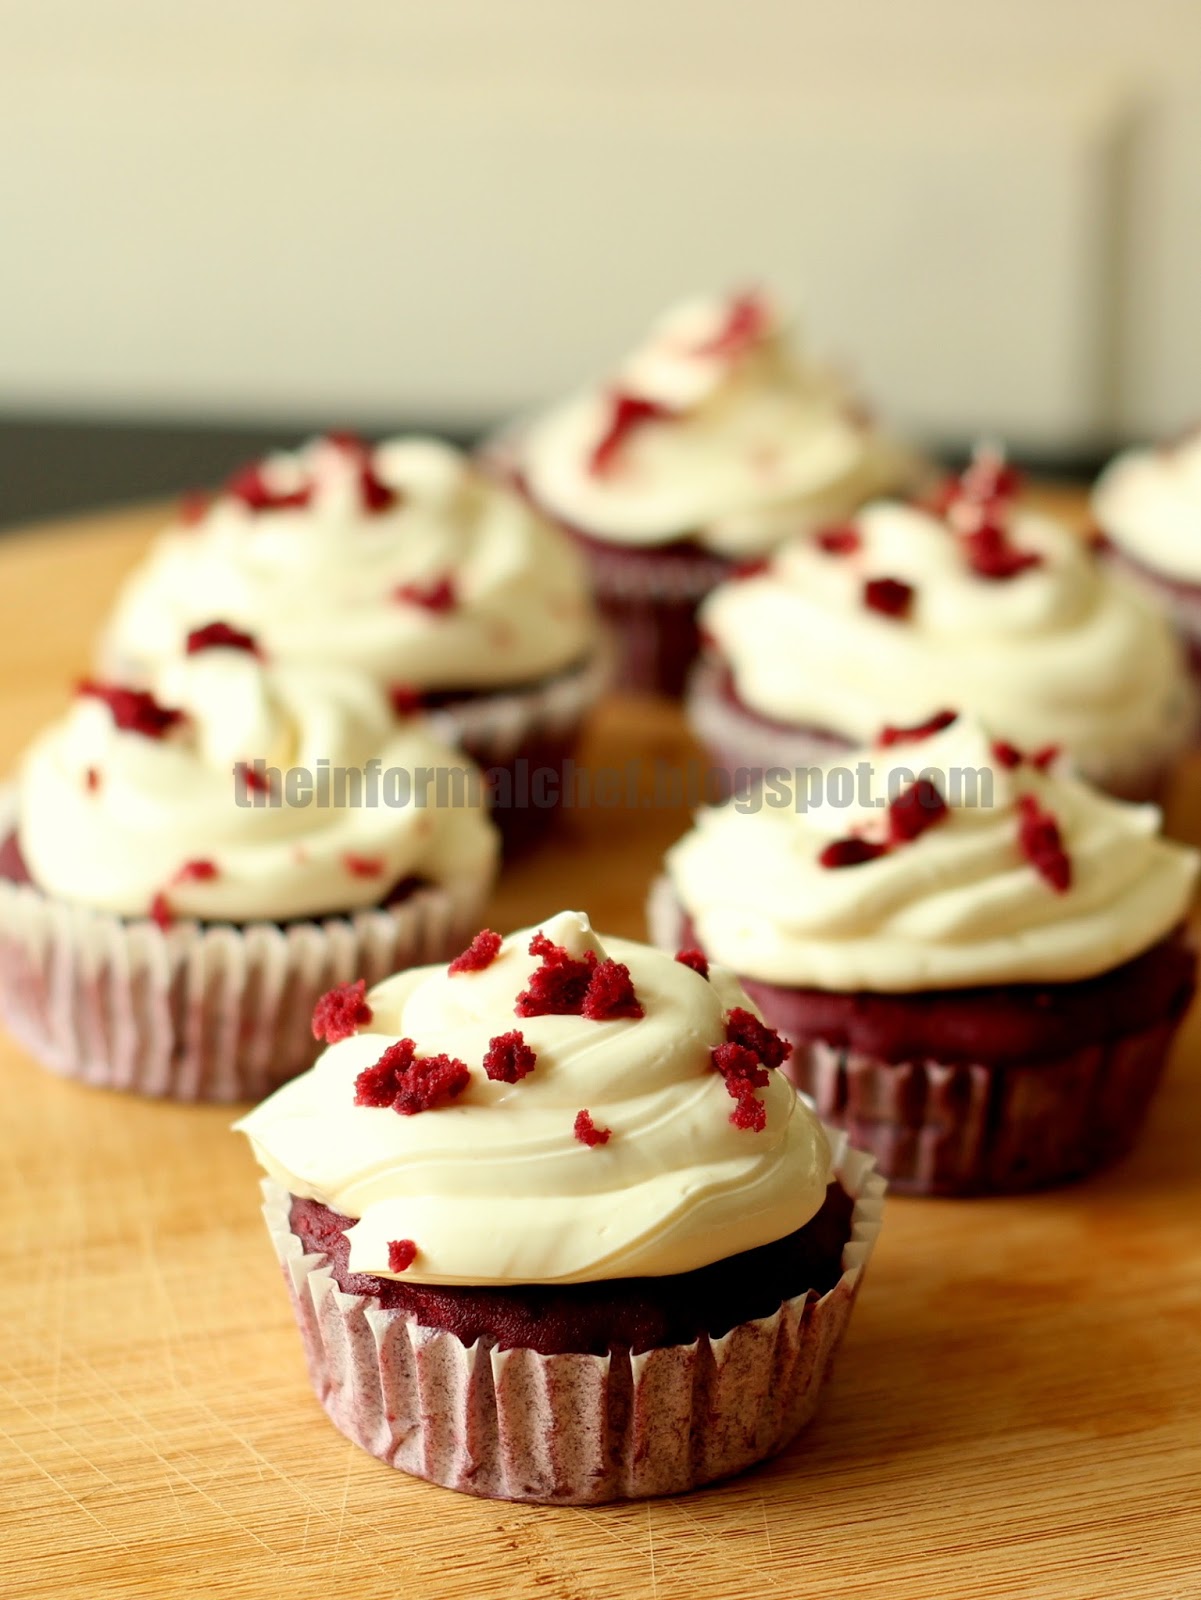
This cupcake recipe is an adaptation from my red velvet cake recipe. I am not into cupcakes. However, I do admit this is a convenient party munchie. As such, I bake cupcakes instead of the whole cake to gatherings. Just last Friday, I baked some red velvet cupcakes for my cell group meeting. I was, however, not very satisfied with the appearance as it has a nice beautiful dome to it. Nothing wrong with it really but I like my cupcakes flatter so that I could add on my delicious cream cheese frosting. I have since cut a little of the dome (the usual method) and apply my cream cheese frosting. But I am thirsty to find out how these people get that wonderfully raised, almost flat top.


1. Lower temperature
2. Reduce leavening agent
3. Bain marie method
4. Wrap a wet towel around the strip
5. Store bought cake strip
As I am perfectly satisfied with the moist, soft and fluffy texture of my cake, options 1 and 2 are out. Options 4 and 5 are meant for cakes therefore leaving me with just option 3, which is basically a water bath. And the result? Those lovely red velvet cupcakes rose to perfection! Now my red velvet cupcake recipe is complete and I could finally share this recipe with all of you.
Note:
This is just me being picky on the appearance. You could ignore the bain marie method and just apply your choice of frosting like I did the first time but it is always good to learn some new tricks that can be applied when the occasion arises.
Red Velvet Cupcakes 红色天鹅绒杯形蛋糕
Makes 12 cupcakes
Ingredients
200 g flourMakes 12 cupcakes
Ingredients
1/2 tsp baking soda
1/2 tsp baking powder
1/4 tsp salt
1 1/2 tsp dutch processed cocoa powder (I used Hershey's)
85 g butter, softened
110 g castor sugar
180 ml (3/4 cup) buttermilk (or add 3/4 tsp of vinegar to 3/4 cup of whole milk and rest for 10 mins)
1/2 tsp vinegar.
1/2 tsp vanilla extract
1/2 tbsp red colouring (I also added two drops of yellow colouring)
1 1/2 large eggs ( A grade)
Cream Cheese Frosting
recipe here
Cooking Instruction
1. Preheat oven to 170C.

2. Sift flour, baking soda, baking powder, cocoa powder and salt into a bowl.


4. Add sifted dry ingredients in two batches into the wet mixture. Using the whisk, mix gently until well combined. Then use spatula to scrape the sides and bottom to thoroughly combine the batter.


5. Scoop batter into individual cupcake tins lined with cupcake liners. At this point, you could use a water bath like the above picture. Bake for 17 - 20 mins until skewer comes out clean when tested. Remove from oven and let cool. Pipe in cream cheese frosting.
No comments:
Post a Comment